Sunday, November 18, 2012

The New York Times Best Chocolate Chip Cookie Recipe


This past week I had a chocolate chip cookie smackdown between my 'awesome' chocolate chip cookie recipe (the one I've made a hundred times) and the New York Times best chocolate chip cookie recipe.  The NYT recipe is fussy.  It takes two types of flour, weird amounts of ingredients, and the dough has to sit in the refrigerator at least 24 hours before you make cookies out of it.  I've made the recipe twice now, and both times I'm consumed by the thought of the homemaker who developed it.  I'm absolutely sure she was a 'pinch of this' and a 'shake of that' and a 'whatever-you-have-in-the-pantry' kinda gal who had a daughter-in-law who exclaimed "I must have the recipe for this!"  The homemaker MIL probably gave her general directions (oh, a dash of baking powder) and the DIL (who was probably a little OCD like me) likely trailed behind the MIL and measured everything to come up with the exact amounts.  I mean really.  One-and-a-quarter teaspoons of baking soda.  Does that extra quarter of a teaspoon take these cookies from merely good to starring in the New York Times and in every person I know's Pinterest board?  

Maybe.  Because the sad truth is, these cookies won my smackdown.  In fact, by a landslide--unanimously among my family and almost hands-down at work.  And I even took the easy route for parts of the recipe, where I thought it was just ridiculously picky (what in the heck is feves anyway?).


It's possible that these cookies are very good because the recipe does, in fact, call for two different types of flour.  That might be because homemaker MIL didn't have enough of one of the kinds, or it might be something funky with flour chemistry.

 
I blended the dry ingredients, and indeed, it does all look about the same.  This recipe calls for an inordinately long time for beating the butter and sugar.  That might be because homemaker MIL had to step away from her Kitchenaid to pour herself some coffee and take a phone call.  Or, it might just make the mixture particularly light and fluffy.


Typically sugar cookie recipes do call for some time in the refrigerator to harden the dough, but this is the only chocolate chip cookie recipe I've seen that called for refrigeration.  It could be because homemaker MIL ran out of time and couldn't bake them the same day she made the dough.  Or it could be that the long refrigeration time causes all of the ingredients to really do their thing.

 
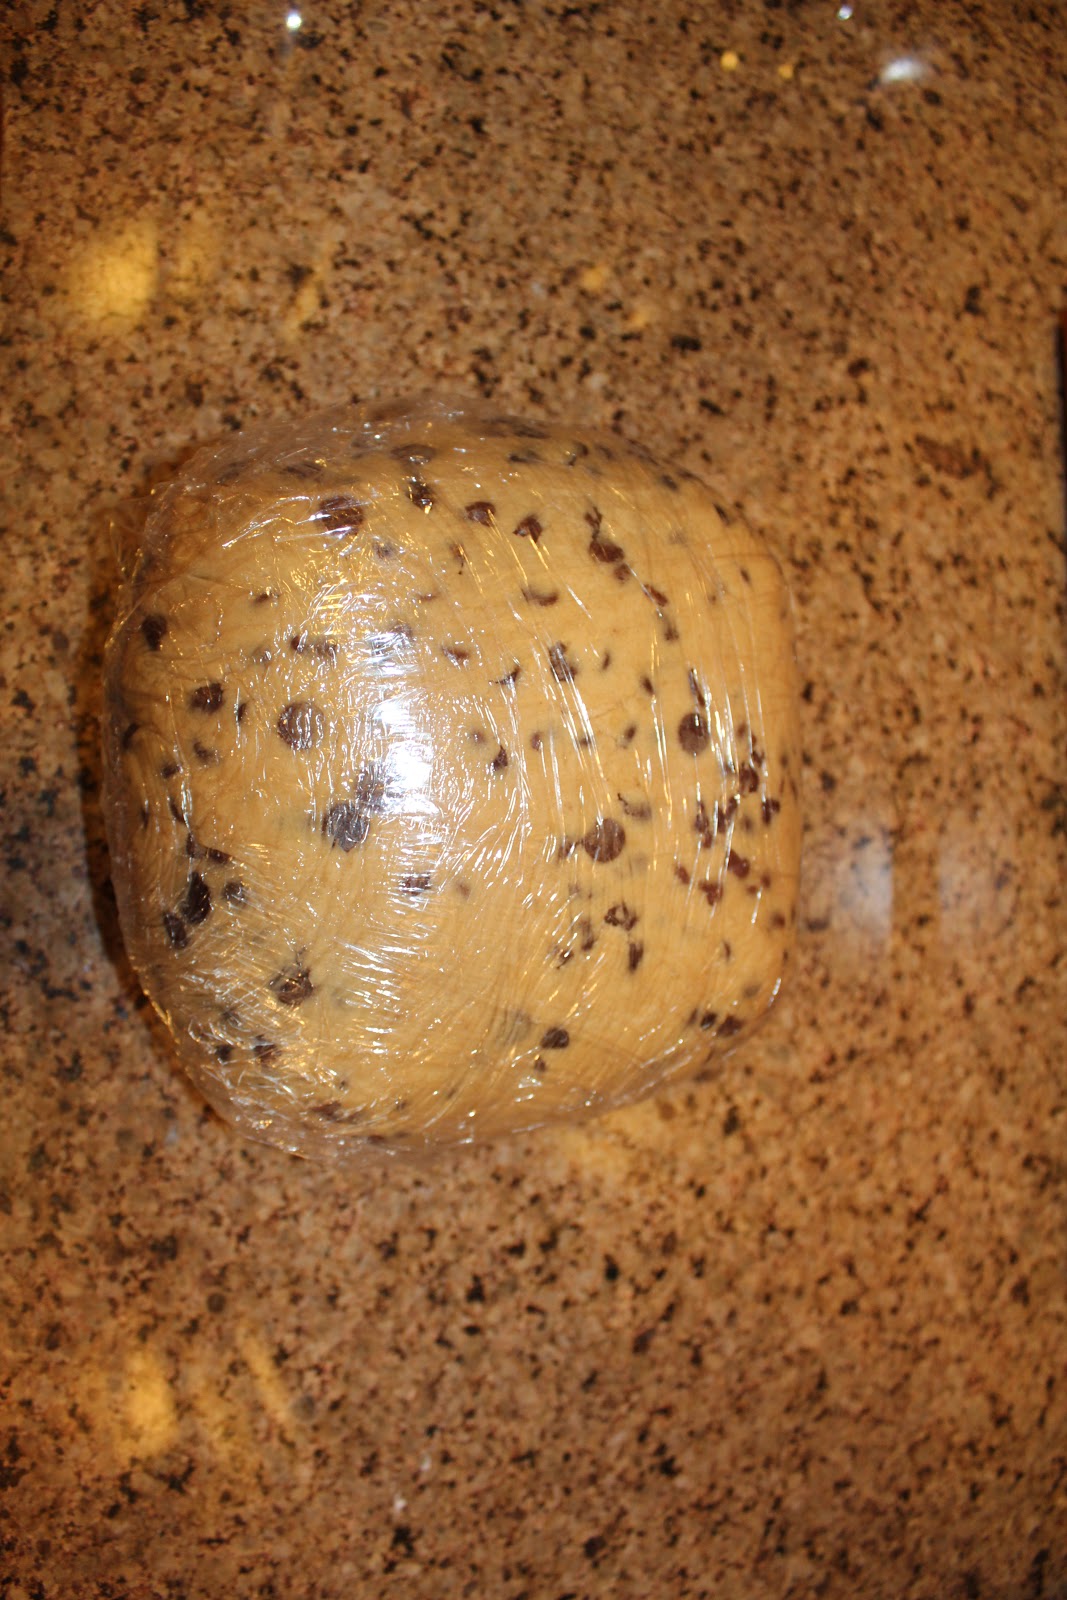
Ok.  Sidetrack.  When we built our home in 2007, I shopped a ton for granite countertops.  The one I chose was described by the salesperson as "similar to chocolate chip cookie dough."  I guess he was sort of right.  Does it look like my dough is camouflaged here?


Anyway.  The refrigeration makes putting the first batch on the pan less-than-fun.  I use a scooper from Pampered Chef, and it was work to scoop the dough into the scooper.  The subsequent batches are much easier as the dough warms and softens.

Note to self: just get the dough out and leave it on the counter for 10 minutes before trying to scoop it out.


You will note the recipe (below) calls for gigantic-sized cookies.  In the interest of fair comparison for the smackdown, I made both recipes using a small scoop.  Even without the smackdown, I would use the small scoop because it's portion control.  I'm teaching my kids that a hand-sized cookie isn't average.  

But I digress.  You will also note this recipe calls for more than the normal amount of chocolate chips.  Or feves or disks.  Out here in Iowa, we just use chocolate chips.  We aren't fancy or anything.  The extra chocolate was what one tester hypothesized made this recipe better than the other, and she could be right.  I also did not sprinkle the cookies with salt.  I'm not quite sure what kind of accident might have caused homemaker MIL to do that, so maybe she did it on purpose.  I'm not really into the whole sweet-and-salty thing.  This salted caramel everyone is raving about isn't for me.  So we skipped the salt too. 

 
They really do turn out yummy.  Sort of crispy, yet chewy, and definitely full of chocolate.  They made my son smile.  And my coworkers.  So I guess the extra time and effort really was worth it.


The New York Times Best Chocolate Chip Cookie Recipe
Taken directly from the NYT article.

2 cups minus 2 tablespoons (8 1/2 ounces) cake flour
1 2/3 cups (8 1/2 ounces) bread flour
1 1/4 teaspoons baking soda
1 1/2 teaspoons baking powder
1 1/2 teaspoons coarse salt
2 1/2 sticks (1 1/4 cups) unsalted butter
1 1/4 cups (10 ounces) light brown sugar
1 cup plus 2 tablespoons (8 ounces) granulated sugar
2 large eggs
2 teaspoons natural vanilla extract
1 1/4 pounds bittersweet chocolate disks or fèves, at least 60 percent cacao content (see note)
Sea salt.


1. Sift flours, baking soda, baking powder and salt into a bowl. Set aside.

2. Using a mixer fitted with paddle attachment, cream butter and sugars together until very light, about 5 minutes. Add eggs, one at a time, mixing well after each addition. Stir in the vanilla. Reduce speed to low, add dry ingredients and mix until just combined, 5 to 10 seconds. Drop chocolate pieces in and incorporate them without breaking them. Press plastic wrap against dough and refrigerate for 24 to 36 hours. Dough may be used in batches, and can be refrigerated for up to 72 hours. 

3. When ready to bake, preheat oven to 350 degrees. Line a baking sheet with parchment paper or a nonstick baking mat. Set aside. 

4. Scoop 6 3 1/2-ounce mounds of dough (the size of generous golf balls) onto baking sheet, making sure to turn horizontally any chocolate pieces that are poking up; it will make for a more attractive cookie. Sprinkle lightly with sea salt and bake until golden brown but still soft, 18 to 20 minutes. Transfer sheet to a wire rack for 10 minutes, then slip cookies onto another rack to cool a bit more. Repeat with remaining dough, or reserve dough, refrigerated, for baking remaining batches the next day. Eat warm, with a big napkin.

Yield: 1 1/2 dozen 5-inch cookies.

Note: Disks are sold at Jacques Torres Chocolate; Valrhona fèves, oval-shaped chocolate pieces, are at Whole Foods.


Saturday, November 10, 2012

Awesome Chocolate Chip Cookies


I know it's the right thing to do to give recognition to the source of a recipe when it's shared in a blog, but honestly I've had this recipe for so long I have no idea where it came from.  I've had this recipe for three states and five different addresses.  I've had this recipe for four kids.  Two are now teenagers.  (Dear God).  I've had this recipe for so long it's actually written down on a recipe card and not bookmarked in my computer or pinned on my Pinterest boards.  Seriously, I've had this recipe so long that back when I originally wrote it down, I was still inwardly grimacing and letting people call me.....Becky.  Oh my.  


I haven't let anyone call me Becky in years.  So really, I've had this recipe a long time.  And I must have made hundreds of these cookies over the years.  It's bomb proof.  I'm convinced that's because it has a secret ingredient.


Weird, huh?  Pudding.  Sometimes I use vanilla, and sometimes I use white chocolate.  I'm crazy that way.  Honestly I'm not sure anyone can tell the difference, so it doesn't matter anyway.  The pudding in this recipe makes the cookies really soft, and really scrumptious.  I've never met anyone who didn't like them.

Lately a lot of people have been pinning the 'best chocolate chip cookie' recipe published in the New York Times.  I'll blog about that in a few days.  I've made a batch of my "Awesome Chocolate Chip Cookies."  I've made a batch of the New York Times recipe.  I'm going to double-blind taste test with my family and a few coworkers to see which wins the day--the 'awesome' or the 'best.'  

In case you care to treat your family and your office to a taste test of your own, here's my recipe.  

Awesome Chocolate Chip Cookies 
1 c. butter
1/4 c. white sugar
3/4 c. brown sugar
2 eggs
1 tsp. vanilla
1 box instant pudding mix (try vanilla or white chocolate)
1 tsp. baking soda
2 1/4 c. all-purpose flour
1 pkg chocolate chips (you pick which kind)

Preheat your oven to 375 degrees.  Set out two sticks of butter and let them warm to room temperature.  I often forget to do this, and then try to melt the butter a little in the microwave.  That makes this next step turn out not as nice.  So don't be like me.  Put the butter out for a while.

Beat the butter and sugars until they are light and fluffy, about 2 to 5 minutes.  Add the eggs and vanilla and beat until well combined.  Incorporate the pudding, soda and flour.  Try to do that slowly, or all of the powders puff up in the air and get cooking dust all over your food processor.  That always irritates me.  Stir in your chocolate chips.

Scoop the cookie dough onto your cookie sheets in whatever size you like.  


Bake for 8 to 10 minutes, depending on your oven.  I baked mine for 8 minutes, and I probably could have pulled them out at 7.5.  Or 7.35.  Or even 7.25.


These two seemed to think 8 whole minutes was good, though.


Not really a tough crowd, ya know?


Sunday, November 4, 2012

Dessert Pizza


Way back when, back in the days when my husband and I were newly married and still in college, we lived on love and leftovers from his job at Godfather's Pizza.  One 'perk' of working for that particular Godfather's was that employees could eat what they wanted--a definite plus for a 23 year old guy.  We had pizza so often it wasn't even particularly fun or special anymore, and that's saying something!  My husband (who, I must say, no longer cooks anything at all unless it requires an open flame) did a lot of pizza experimentation during that time.  I can vividly recall a pizza with no tomato paste, but instead nacho cheese sauce covered by mozzarella and cheddar, and topped with bacon bits and other assorted things.  It sounds gross, but it wasn't.  Well, I guess it is.  Let me just disclaim that I no longer allow my family to eat anything yellow and processed like nacho cheese sauce...

Anyway.  We don't go crazy with pizza experimentation much anymore.  Greek pizza is definitely as weird as we get.  Our kids like just plain cheese pizza more than any other kind.  Except dessert pizza.  Perhaps dessert pizza is a Midwestern thing.  I wouldn't know because I don't order pizza anywhere outside of the Midwest.  My kids loooooove dessert pizza.  Of course they do.  It's simple carbs, sugar, butter, and cinnamon.  I put apples on this one because hey, any time I can sneak in a fruit or vegetable I do...and apples are one of the only kinds of fruit they will eat.  

If you are interested in sneaking in some fruit between layers of sugar and simple carbohydrates, here's how I did it. 

Dessert Pizza
Pizza crust from Annie's Eats


For the apples:
1/3 cup sugar
2T flour
1T cinnamon
5 apples

To top the dough:
2T melted butter
cinnamon and sugar mixture

Struesel topping:
1/2 cup old-fashioned oats
1/3 cup flour
1 tsp cinnamon
2 T butter

Glaze
1 c powdered sugar
2 T milk
1 tsp vanilla

Prepare the pizza crust as directed by Annie at Annie's Eats.  After the dough has risen and you have formed it into balls to rest, heat you oven and pizza stone to 500 degrees. As it heats, peel, core and dice your apples into small pieces about a half inch in size.  I think it's fun to try to peel the apple in one long strip.  But I'm weird like that.


In a small bowl, mix the sugar, flour and cinnamon together.  Add the diced apples and toss to combine.  Set aside.

On a flat cookie sheet, lay out a piece of parchment paper.  On the parchment paper, press your dough into the shape you desire.  Obviously the larger you make the crust the thinner it will be.  When you have it in the size you want, brush the crust with the melted butter and sprinkle with cinnamon and sugar.


Top the crust with the apple mixture.  In the used bowl, combine the struesel topping ingredients - oats, brown sugar, flour, cinnamon, and butter.  Mix until well combined.  Sprinkle the struesel mixture over the apples and the crust.


Carefully slide the parchment paper with the pizza onto the hot pizza stone in the oven.  After a few minutes you can slide the paper out from under the pizza, but I just leave it there.  Bake for 10-12 minutes, or until the pizza is browned and done.  As the pizza is baking, whisk together the glaze.  Remove the pizza from the oven and drizzle the glaze over the hot pizza.  I dipped the whisk into the glaze, then used the whisk to drizzle.  It's a really technical approach.  I learned it from the Culinary Institute of Small Town Iowa.  Or something.  Once the pizza has cooled enough that it won't burn small fingers, cut with a pizza cutter and distribute to your family.  Or just eat it all yourself.  It's good!


Monday, October 29, 2012

Greek Pizza


I'm a healthy kinda girl in a home full of mostly unhealthy-preferring people.  When I make pizza, I make one covered in a bunch of cheese and sausage and black olives.  And then I make one that I can justify a piece of.  Case in point--the Greek pizza.  As opposed to the Italian/American variety.

True confession here...  Of course I'd rather eat a huge slice (or three) of Pizza Hut cheese pizza.  Or barbeque beef pizza from Pizza Ranch.  Or even veggie pizza from Casey's--our local convenience store-pizza place (with the grease napkined off the top).  But as I said, I'm a healthy kinda girl so I generally refrain.

It took me a long time to find a pizza crust good enough to make more than once.  I've gone through a bunch of recipes, and even went through a period of time when I bought pre-made pizza shells from the grocery store (horror of horror! preservatives!).  Those days are gone.  If you've never checked out the blog Annie's Eats, you must.  She's a genius.  Her recipe for pizza crust is the best I've found, and her desserts...oh my.  But add those to the list of things-I-try-to-refrain-from.  

It's hard to be healthy.

Greek Pizza
Pizza dough recipe directly from Annie's Eats.  No one should adapt it at all.  :- )
I'll let you use her site for that part, and just share some tips from the process. 

Make certain you proof the yeast in warm water.  I use a glass measuring cup for this because it's easier to pour the mixture into my mixer.


I've had the unfortunate problem (too many times) of covering my bowl of rising dough with saran wrap, and then losing a tenth of my dough to what gets stuck to the wrap.  My solution?  Cover my oiled glass bowl with the bowl from my mixer.  Plenty of space, no waste.  In the winter I put the dish near our fireplace to let it rise.  In the summer, I put it into a vehicle parked outside.  I'm clever that way.


No mess, see?


After you punch down the down, form the balls and let them rest, they make the most lovely dough blobs. 


When this is happening, start with the Greek-pizza-part.  Place the pizza stone in your oven, and turn the oven on to 500 degrees.  Yep, it's going to sit in there and get super hot and you might worry about wasting energy keeping your oven on for so long, empty.  Let go of your environmentalism for a little bit.  Your dough might not cook through if you don't do that, and ruining your dough would be just as wasteful as wasting electricity....

Slice and soak some red onions in water.  It takes some of the bitterness out of them.  Did you know that?  I learned it from Chopped on the Foot Network.  I love the Food Network.  We no longer have the Food Network because we cancelled our dish and switched to NetFlix.  NetFlix carries no Food Network programs.  I am sad.

Anyway.

Soak your onions while your dough blobs rest.


You will also want to slice up about 3 roma tomatoes and grab your jars of kalamata olives and artichoke hearts.  After the dough has relaxed for 10 to 30 minutes, grab a piece of parchment paper and spray it with cooking spray.  Trust me on this part.  Annie doesn't share that tip about parchment paper, but it's a total must.  I have no idea how Annie manages to get her pizza on her pizza stone without that.  But I digress.

Press out your dough into a circle or square shape.  Whatever floats your boat and will eventually fit on your pizza pan or stone.  Brush it with olive oil and sprinkle with Italian seasoning and parmesean.


I know it's ridiculous, but it bothers me now that the shape wasn't a perfect circle.  We'll imagine I was intentionally going for 'rustic.'

Layer the crust with the toppings you'd like.  I use roma tomatoes, red onions, artichoke hearts, kalamata olives and feta cheese.  I'm sure it would all taste better with a heap of mozarella, so if you're into that, definitely add it.  You might also like pizza sauce.  I do not.  Not at all.


Slide the pizza onto the pan or stone that has been heating in your oven.  Bake as Annie instructs for 8 to 12 minutes.  You could remove the parchment from under the pizza after about half of that time if you wished.  I just leave it there because, well, the oven is hot and so is the pizza and I'm ok with browned parchment paper.

Remove the pizza from the oven and let it cool.  Then, of course, dive in! 


Saturday, October 27, 2012

Autumn Toffee


Hello.  My name is Rebecca, and I've been addicted to Pinterest for 1 year, 2 months, and 5 days....

Just kidding about the time, but not about the addiction.  It's bad.  The other day I had to rearrange my Feeding the Hoardes board because there were so many awesome recipes pinned there I started to feel like it was disorganized.  And a disorganized board on Pinterest is like a disorganized pantry, or a disorganized closet, or (gasp) a disorganized desk at work.  I just can't live with it.  

In the process of shuffling pins to specific food-related boards, I came across one for Autumn Brittle.  Have you seen it?  It's essentially nuts and dried cranberries in a brittle base.  I hadn't gotten around to making it because only one of our four kids would choose to eat nuts if they were sitting out on the counter.  My husband will eat them, but he's hit or miss on treats--sometimes he eats gross gobs of something, and other times it just languishes in the container.  Seeing the pin again got me thinking about the half-finished bags of a variety of nuts I had sitting in the pantry.  If I made autumn brittle and no one ate it, it would be no worse than letting the nuts waste in the pantry.

With that, I launched into boiling the sugar and honey and water.  If I've learned any kitchen lesson more than once, it's that attempting to bring a sugar syrup up to a hard crack stage too fast will result in a big stinky burnt mess.  That hard lesson was driven home again today, when setting the concoction at a 4.5 on my burner quickly resulted in scorched sugar.  Dump it out.  Rethink it.  And then epiphany struck.

I don't even like brittle.

But I do like toffee.  

And toffee and nuts could be a good combination.  And toffee and brittle are really only different by a lot of butter.  And butter and sugar are a marriage made in heaven.  Friends, I give you Autumn Toffee.  

It's just plain amazing.


Autumn Toffee
(Toffee base adapted from Paula Deen's English Toffee)

14 T butter
1 c. sugar
2 T. water
1 T. vanilla
3/4 c. rough chopped pistachios
3/4 c. cashews
3/4 c. sliced almonds
1 c. Craisins or other dried cranberries

Begin this with a little bit of prep work.  Combine your fruit and nut mixture in a bowl and set it aside.


Line a 9 x 13 cake pan or another similar-sized pan with foil and butter the foil.  Grab your candy thermometer.

In a large pot, combine the butter, sugar and water.  Stirring constantly, bring the mixture to a boil.  Stir and boil the mixture for about ten minutes, then stop stirring and let the sugar reach 300 to 310 degrees.  That is the 'hard crack' stage.  Do this SLOWLY or the mixture will burn.  I set my burner to 2.5 out of 10 and left it there.

Once the mixture has reached 300 to 310, remove it from the burner.  Mix in the vanilla and the fruit and nut mixture.  Quickly scrape the mixture into the foil lined pan.  Press the mixture flat and allow it to cool.  If you're in a hurry, put it in the freezer for a bit.

WARNING:  Do not put any part of this in your mouth if you are being careful of your diet.  If you taste it, you are going to want more.  I can't be responsible for how much more you eat.  It's that good. 


  A brittle couldn't hold a candle to this.


Enjoy!


Thursday, October 25, 2012

First Snow, A Day Off, and Oatmeal Butterscotch Cookies

It snowed today, and it isn't even November yet.  If that is a sign of what is to come this winter in Iowa, my 20 mile commute won't be much fun.  But if it had to snow, today was the day for it.  Someone in human resources sent me a dire warning the other day that if I didn't use my unused vacation time from last year, I was going to lose it and never get it back again.  Since Tehya didn't have school today, and none of the kids have school tomorrow, I went a little crazy and took both days off of work.

And then from home I checked my email at least a dozen times to make sure everything was going ok without me.  I'm ridiculous like that.

Anyway, I didn't have to go out in the cold and wet.  Instead, I got the joy of watching it through the windows with a 5 year old who thinks snow is magic.  


And I cleaned out closets.  And I washed sheets.  And I found the two pairs of snow boots I couldn't find for last winter so had to buy two new pair.  But best, I baked cookies that were still warm when the boys got off the bus.  My kind of day off!

It's been forever since I made oatmeal cookies.  They aren't the kind my family usually requests.  But today seemed to call for something old-fashioned and comforting.  This recipe doesn't take 48 hours in the fridge with finely shaved dark chocolate and two types of flour.  It doesn't involve shaping or rolling or using any kind of fancy press.  They might not even knock you naked.  But they will disappear quickly, and they will hit the spot on a cold day when you feel like doing a little nurturing.


Oatmeal Butterscotch Cookies

1 c. butter, room temperature
1 1/4 c. brown sugar
2 eggs (or 4 bantam-sized eggs, if you're like us)
1 tsp. vanilla
1 tsp. baking soda
1/2 tsp. salt
1 tsp. cinnamon
1 c. all-purpose flour
3 c. old-fashioned oats
11 oz bag of butterscotch chips (minus about a quarter of an ounce due to taste testing)

Preheat the oven to 350 degrees.

Beat the butter and brown sugar until fluffy.  Add eggs and vanilla and beat until well combined.  Add the dry ingredients, mixing until they are incorporated.  Stir in butterscotch chips.  At this point, I would recommend you put the dough in the refrigerator for a while to firm it up so your cookies don't spread as much.  If you can't wait, then of course you should scoop them up and put them on cookie sheets.  I used a large cookie scoop because who doesn't like large cookies?  The larger size also means each cookie is thicker and spreads less.  


Bake for 10-11 minutes, or until the cookies are browned.  Allow the cookies to cool for a few minutes on the pan, then do what my husband's Grandma Josie recommended and place them on a newspaper to cool completely.  Maybe Grandma Josie, who raised a dozen children through the Great Depression, didn't have a cookie rack and that's why she recommended newspaper.  I like to use them because it absorbs some of the excess oil and therefore these particular cookies approach health food status.  

Grandma Josie also handed down this gem about not greasing cookie sheets before using them...."A cookie that can't grease its own butt isn't worth making."  And I'll leave you with that little bit of unconventional wisdom.  Enjoy!


Sunday, October 21, 2012

Bantam Eggs and Bananas

Last winter my loving husband and our dear son determined that the best type of chicken to show for 4-H was white leghorn bantams.  Before I could get the words 'but wait!' from my mouth, we had three chicks living in a horse trough in our garage.  I should be used to these things now.  

True story.  Once upon a time we had a cute little chicken coop but no chickens.  Then about two years ago, quite unexpectedly, that same loving husband and son brought home a dozen Rhode Island red chicks. 


I shut myself in my closet and wept copiously.  And I never cry.  Chickens freak me out.  On top of that, they are one more thing that tie us down and mean we can never go anywhere for longer than 12 hours at a stretch.  

But I digress.  Aside from the one chick that turned out to be a rooster, surprisingly I've come to appreciate the chickens more than I resent them.  Those hens produce a lot of eggs.  And so do the ten buff orpingtons that came to live in our chicken coop the following year.... 

When you live in the country outside a little town so small the grocery store closes at 6, you come to appreciate convenience like a fridge full of eggs.

Anyway.  Our son showed Big Mike, Juliette and Minnie over the summer, and they all got blue ribbons.  I did understand that they needed to stay in the horse trough in the garage until he showed them, because they would have been dirty and hen-pecked, as they say, if they would have lived with the rest of the flock.  But it's October, and the fair was back in July, and I still have three chickens in a horse trough in my garage.  On nice days, my son puts them outside in a dog run (with no dogs, of course).  No one (but me) can bear to put them in the coop, where nature's 'pecking' order would likely result in us being down three little chickens.


I love the farm life.

So let me wrap around to the moral of this long story.  Turns out, bantam hens lay really little eggs.  I once made an angel food cake with two dozen of them.  They tend to pile up in our fridge in favor of the more normal sized eggs the other hens lay.  I needed to get rid of some eggs and some they're-so-ripe-I-must-use-them-today-or-throw-them-out bananas, so I whipped up these healthy muffins for the kids' breakfast.  


Banana Oat Muffins
Roughly adapted from The Complete Book of Baking, 1993

1/2 c sugar
1/2 c butter, room temperature
2 bantam eggs (or just one regular-sized one)
1/4 c milk
2 ripe bananas
1 t vanilla
1 c whole wheat flour 
1/2 c old-fashioned oats
1 t baking soda
1/4 t salt
chopped nuts
cinnamon and sugar
6 jumbo cupcake liners

Preheat oven to 350 degrees.  Cream sugar and butter until fluffy.  Add eggs, milk, bananas and vanilla and beat until well blended.  Add flour, oats, baking soda and salt and mix until just combined.  Spray cupcake liners with cooking spray, and fill each liner about 2/3 full with batter.  Sprinkle tops with nuts and cinnamon sugar mixture.  Place in oven and bake for 20-25 minutes, or until done.  Cool on a baking rack, then feed to bleary-eyed children before they leave for school.  Or just eat them yourself, if you want!